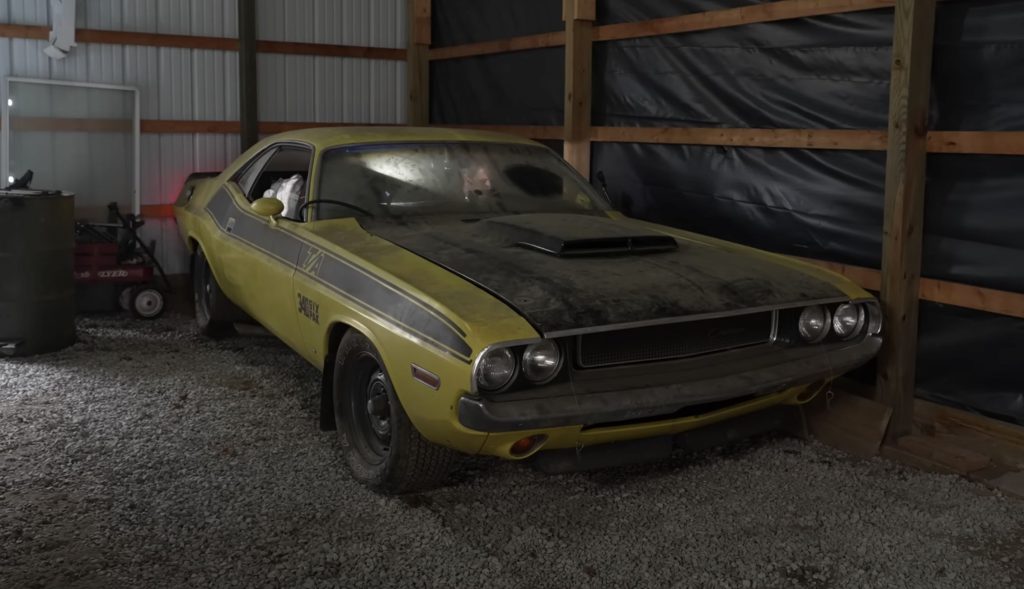
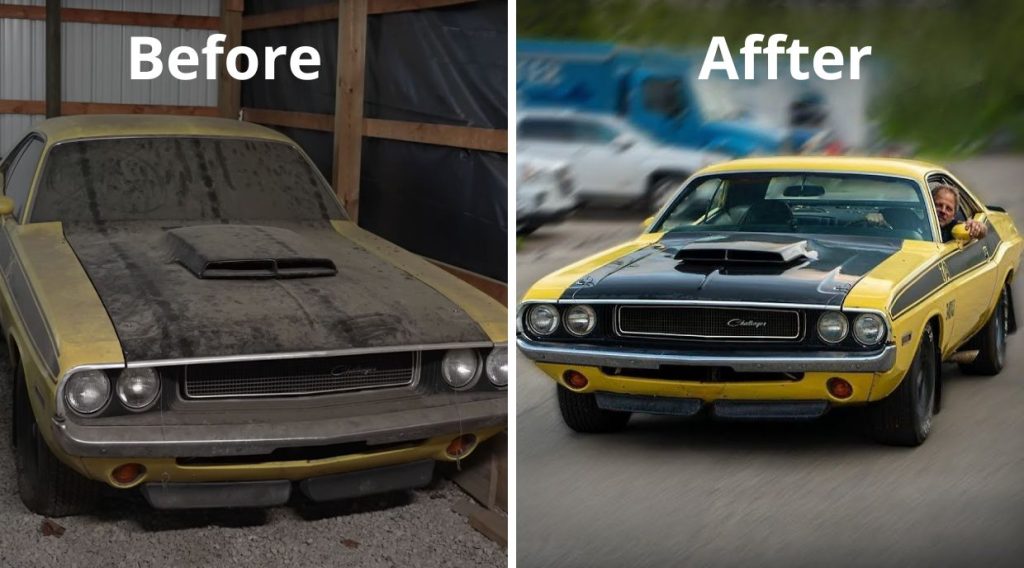
Welcome to the second part of our captivating journey with the Dodge Challenger TA 340 Six Pack! In the previous episode, we explored the initial steps of restoring this legendary car, recognizing its potential for a remarkable comeback. Now, we dive deeper into the challenges faced by our team as they strive to bring this automotive icon back to life. Join us as we unveil the secrets behind revitalizing a car that sat dormant for three decades!

Unveiling the Hidden Potential
As our skilled technicians, Ben and John, got to work, it became evident that this Challenger deserved extra attention and care. The first order of business was addressing the idling issues and making the vehicle drivable once again. After careful inspection, they discovered a possible culprit—a vacuum leak. However, before tackling that, they needed to deal with the cherry pits, which posed an obstacle to further progress.
Unleashing the Experts
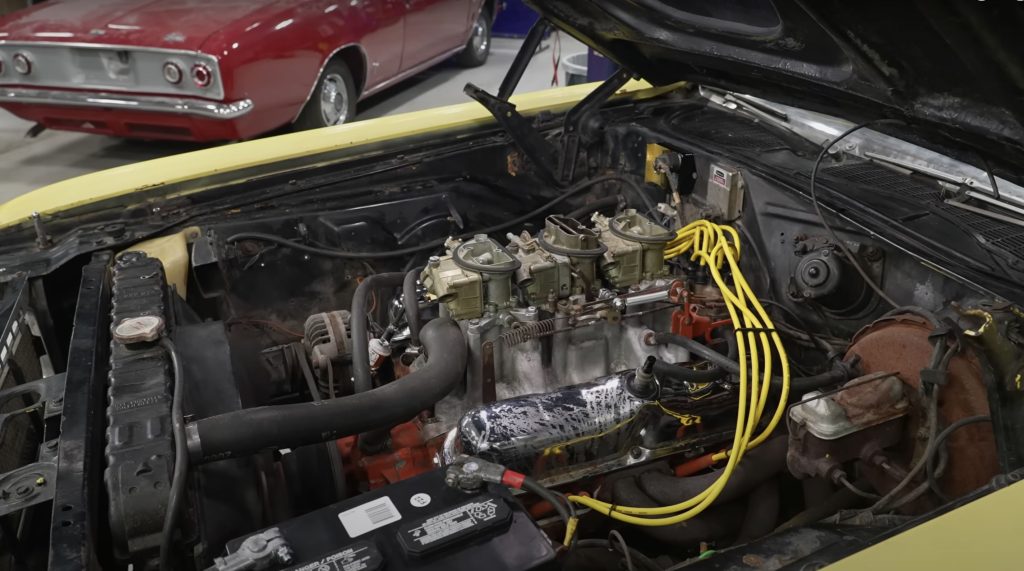
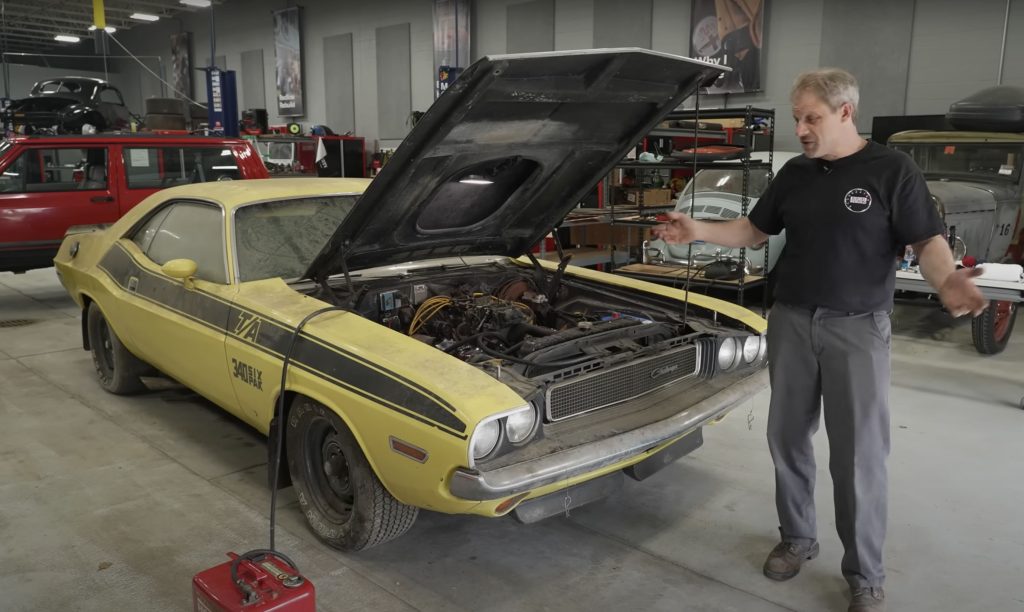
While Ben and John busied themselves with the restoration process, our host, David, took a step back to let them work their magic. With their expertise and dedication, they meticulously cleaned the car, leaving it in significantly better condition. The intake manifold, once hidden from view, was now fully visible, leading to the realization that the vacuum leak might originate from the intake gasket.
A Vacuum Leak No More
Vacuum leaks predominantly occur on the top side of the motor, ruling out issues on the bottom side. To tackle this problem head-on, our team turned their attention to the intake gasket. After conducting thorough checks and assessing the situation, David decided to replace the intake gasket, ensuring a fresh start and eliminating any potential vacuum leaks. Additionally, he replaced a bothersome red ground wire that caught his attention earlier.
Fuel System Woes
During the initial stages, an attempt was made to utilize the fuel tank and pump for flushing purposes. Unfortunately, this plan hit a roadblock, revealing a blockage or dysfunctionality. In response, an older pump was selected, and the fuel line was flushed to prevent any issues caused by debris in the line. The decision was made to rely on a mechanical pump and a rubber line, ensuring a smooth flow of fuel to the carburetors.
Navigating the Challenges
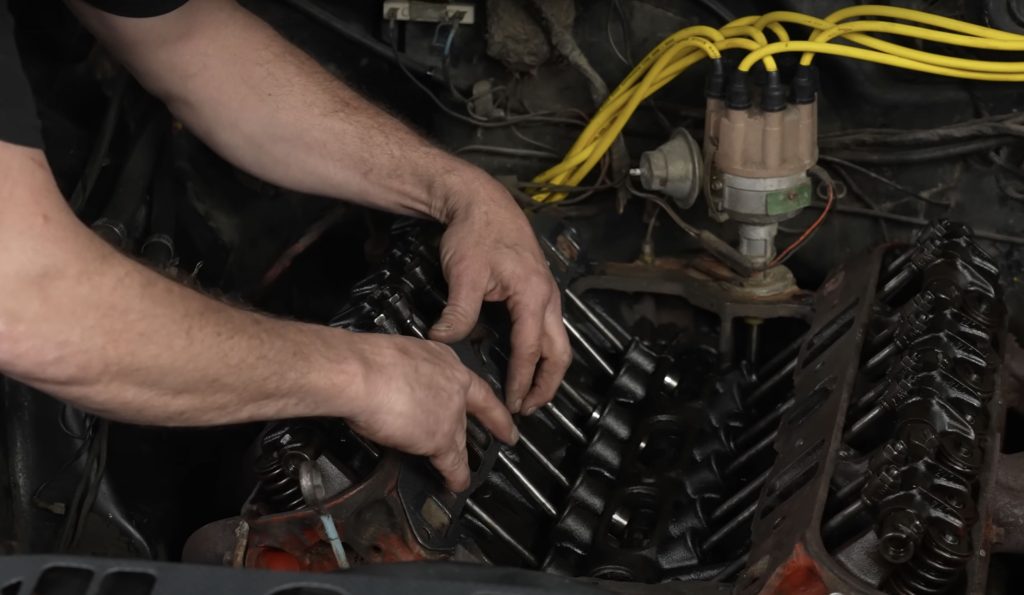
As progress continued, certain obstacles emerged, demanding attention and careful consideration. For instance, dropping the coolant became necessary, requiring a drain pan to catch and store the coolant. Meanwhile, the carburetors were removed for inspection and adjustments, with extra attention given to the missing half of the linkage. Simultaneously, David focused on other essential tasks, such as the replacement of the intake manifold gasket and the swapping of the temperature sensor.
Unveiling the Culprit
With meticulous effort, David discovered a blown-out section of the intake manifold gasket, which confirmed the existence of a vacuum leak. The excessive use of RTV sealant further indicated potential leaks in other areas. To resolve the issue definitively, a higher-quality gasket was chosen, ensuring a secure and airtight seal. With the gasket replacement complete, the intake manifold was cleaned, and the surfaces were prepared meticulously for reinstallation.
Battling the Grime
To ensure a secure fit, David used a scraper to clean the surfaces where the intake manifold would be placed. Taking precautions, he placed towels in between to minimize debris from falling into the engine. This method proved effective in keeping the intake surface as clean as possible. Alongside the intake restoration, David also maneuvered the alternator to access the fuel pump, addressing any potential issues in the fuel system.
The Fuel Tank Mystery Unveiled
During the course of the restoration, the fuel tank became a center of attention due to its condition and peculiarities. Upon closer examination, it was discovered that the tank had been renewed at some point in its history, but the rubber bladder had deteriorated significantly. This explained the difficulties encountered in the fuel system, prompting the decision to replace the tank entirely.
A Fresh Start
After a brief time lapse, we fast forward to witness the installation of a brand-new fuel tank. The stark contrast between the old and new tanks emphasizes the extent of the transformation. The new tank, complete with a sock and float, ensures a reliable and functional fuel system. With the tank successfully in place, attention shifts to other vital aspects, such as the intake resealing, valve cover reinstallation, and the eventual integration of fresh carburetors.
Reaching Milestones
As the restoration efforts progress, notable milestones are achieved, and the car’s potential for a successful revival becomes increasingly evident. The installation of the carburetors, with their accompanying vacuum pods, marks a significant step forward. Fine-tuning the intricate linkage and synchronizing the carburetors ensures optimal performance. With each completed task, the Dodge Challenger TA 340 Six Pack grows closer to becoming roadworthy once again.
A Thrilling Test Drive
With the various components restored, repaired, and reassembled, it’s finally time to put the Dodge Challenger TA 340 Six Pack to the test. After starting the engine and allowing it to warm up, the moment of truth arrives—a test drive. The car roars to life, displaying its raw power and exhilarating performance. Though rough around the edges, this classic beauty brings a smile to our faces, fulfilling the mission to revive it.
Conclusion
The journey of reviving a car that sat idle for 30 years is an endeavor filled with challenges, dedication, and triumphs. The Dodge Challenger TA 340 Six Pack, once shrouded in neglect, now stands as a testament to the passion and expertise of our team. Through meticulous restoration, the car has been given a new lease on life, ready to hit the road once more. The magic lies in breathing life back into a piece of automotive history, reminding us of the enduring allure of classic cars.
FAQs
1. Is the Dodge Challenger TA 340 Six Pack fully restored? No, the restoration process is ongoing, but significant progress has been made to bring the car closer to its original glory.
2. How long did it take to restore the car? The restoration process is time-consuming and dependent on various factors. However, our dedicated team has been working diligently to ensure steady progress.
3. Will the Dodge Challenger TA 340 Six Pack retain its original features? The restoration process aims to preserve the car’s authenticity by retaining its original features to the extent possible.
4. Can I drive a car that has been sitting idle for many years? Driving a car that has been inactive for an extended period requires a thorough inspection, restoration, and ensuring its roadworthiness. Professional guidance is highly recommended.
5. Are vintage cars a good investment? Vintage cars can be an excellent investment opportunity for enthusiasts and collectors alike. However, thorough research and expert advice are crucial before venturing into the world of classic car investments.
You can check out the video below, which was made by the Hagerty YouTube channel